CUSTOMIZE YOUR DASHBOARD
It's worth taking the time to customize
Most people find that it's worth the time it takes to customize their dashboard, because it gives them a real-time overview of the items in the system which are most relevant and important to them.
How to customize
- Click on Dashboards at the top of the screen.
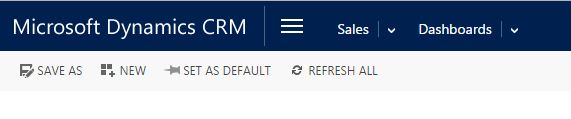
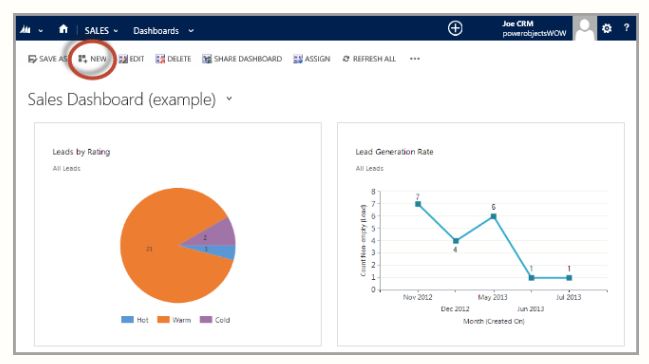
- Click on NEW in the ribbon menu
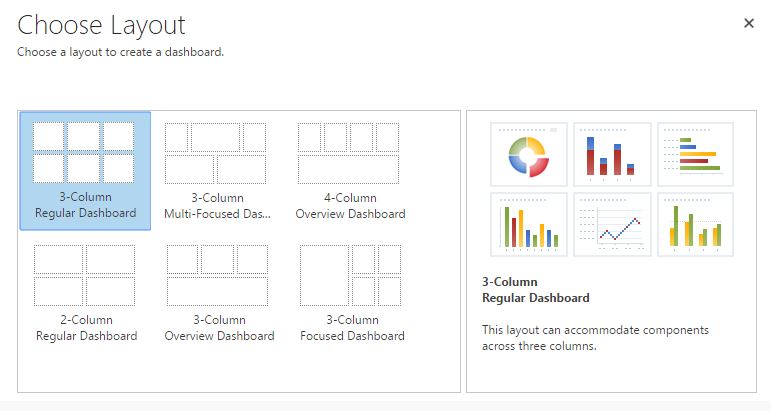
- Select the dashboard layout you want and select Create at the bottom of the screen. (Don't worry - if you decide you don't like this layout, or want to change the information in it, you can do that at any time.)
Give your dashboard a descriptive name (like "Bob's first dashboard").
Now you can start adding components to your dashboard. Again, feel free to play around with this - dashboards don't have to be forever.
You'll see something like this on your screen:
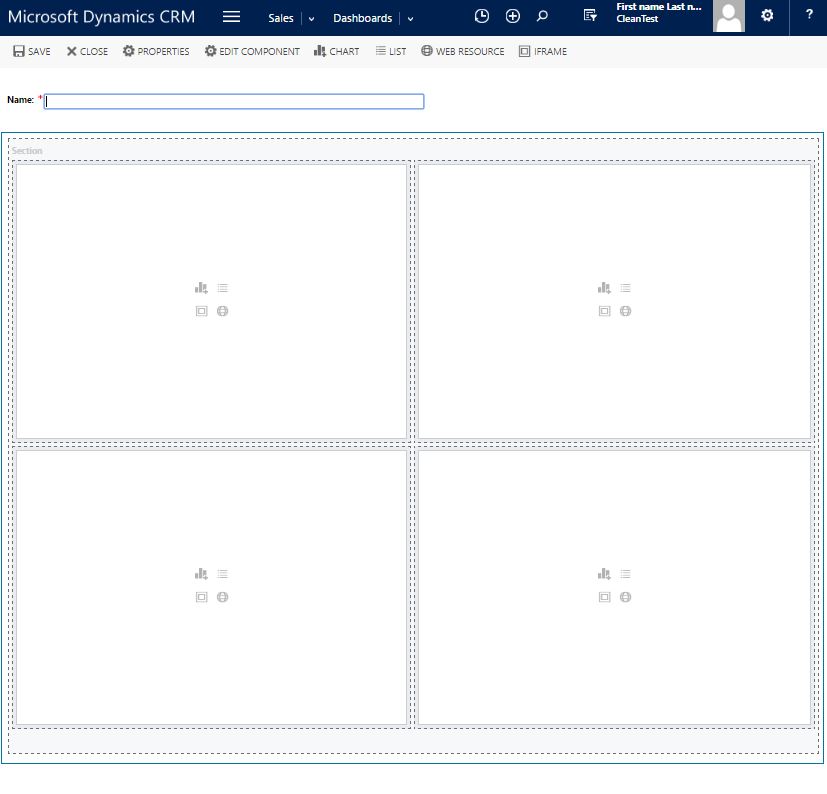
In the middle of each box, you'll see 4 small gray icons. These represent the different elements you can add to your dashboard: Chart, List, iFrame and Web Resource.
Adding charts
Charts are graphic representations of different types of information stored in Premiere CRM.
Clicking on the Chart icon will give you a pop-up window from where you can choose from a variety of information to include in your dashboard:
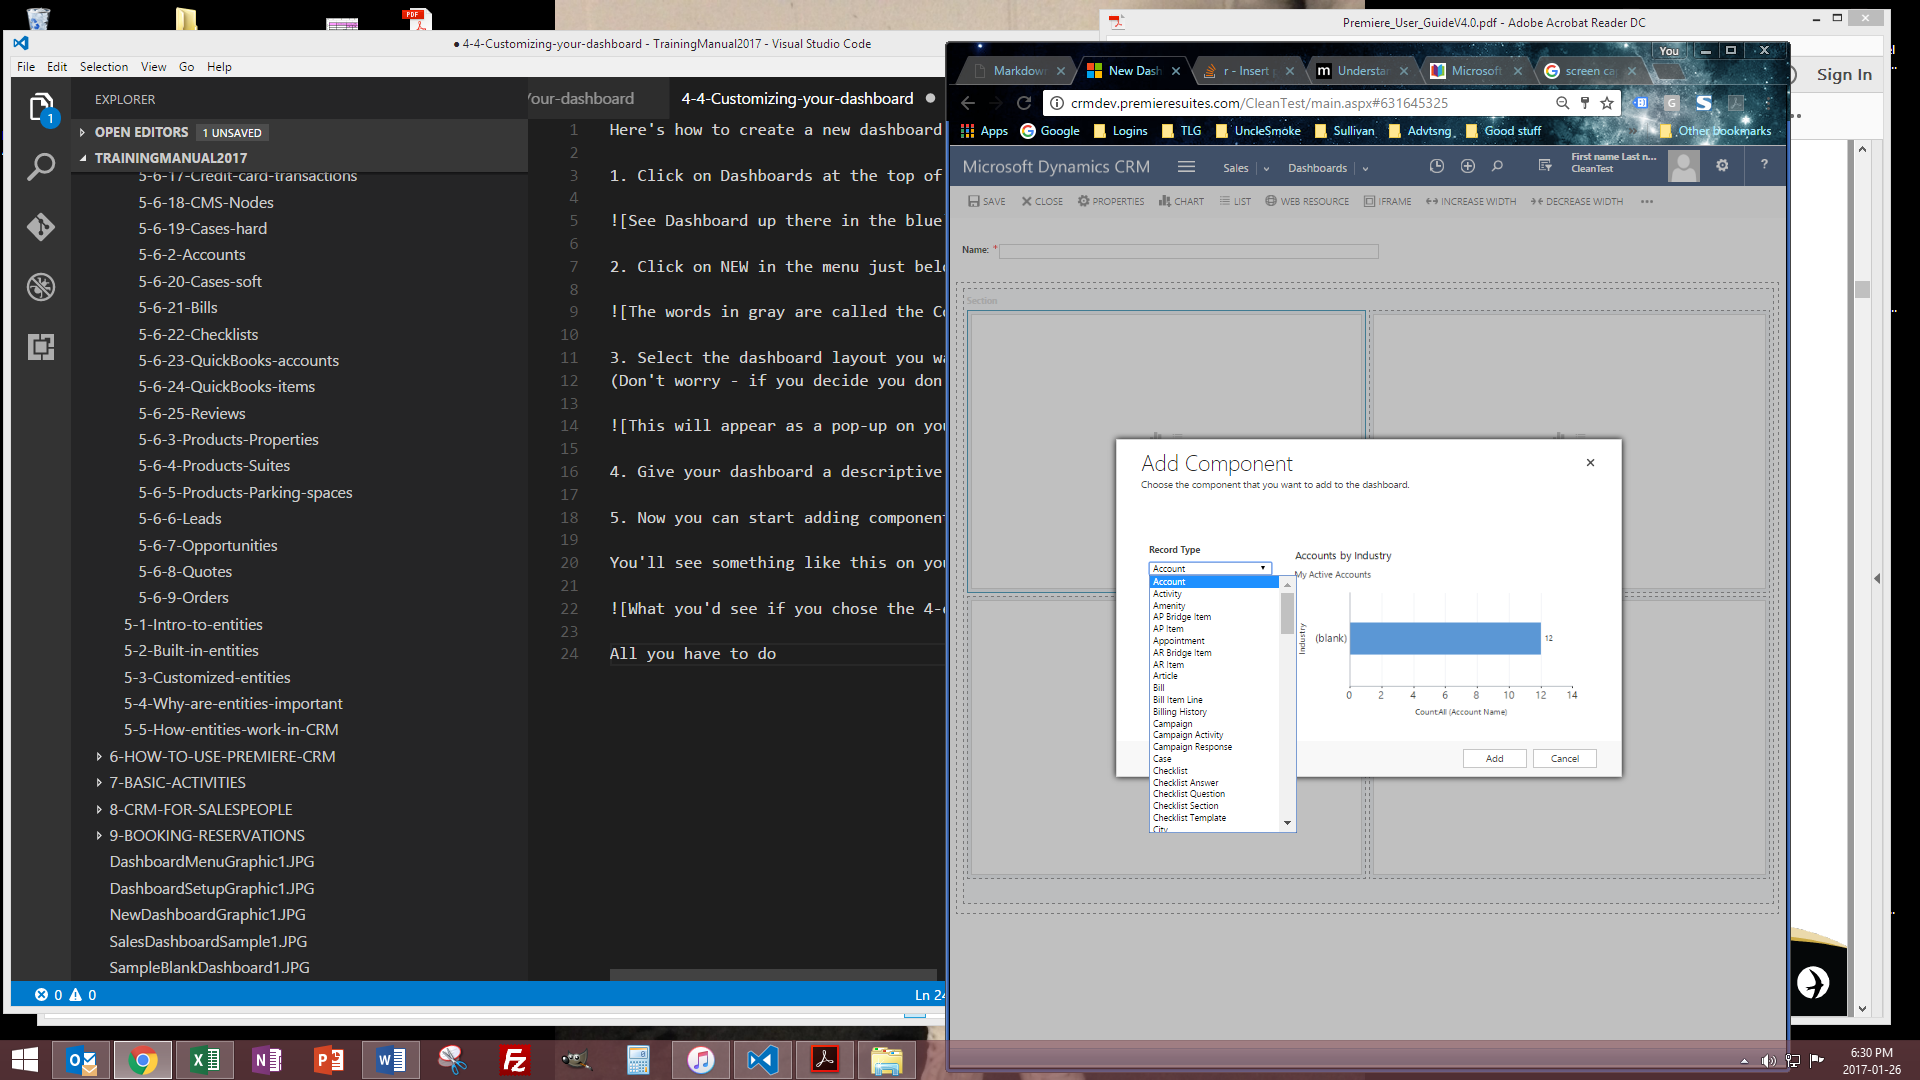
(Remember, depending on your role, you may see a different assortment of items in the dropdown list.)
Select the chart you'd like to add, then click Add at the bottom of the pop-up window.
ADDING LISTS
Lists are simply a summary of specific data that is useful to you, displayed on your screen. Add them the same way you'd add Charts.